
Table of Contents
Introduction
Learn how to install XAMPP on Windows 11 and create a complete local web development environment on your computer. XAMPP allows you to run PHP applications, create MySQL databases, use phpMyAdmin, and test websites directly on your computer without purchasing web hosting.
In this beginner-friendly guide, you will learn how to download, install, configure, and test XAMPP on Windows 11 step by step. By the end of this tutorial, you will have Apache and MySQL running and be ready to start developing PHP and MySQL projects locally.
What Is XAMPP?
XAMPP is a free local server environment developed by Apache Friends. It provides several tools needed for web development in one package.
The most important components for beginners are:
- Apache – runs your website on the local server.
- MariaDB – provides the database server used by your applications.
- PHP – processes PHP code.
- phpMyAdmin – provides a web interface for creating and managing databases.
Instead of uploading your PHP files to a live hosting server every time you want to test something, XAMPP allows you to develop and test everything locally on your Windows computer.
What You Need Before Installing XAMPP
Before starting, make sure you have:
- A Windows 11 computer
- Administrator access
- An internet connection for downloading XAMPP
- At least a few hundred MB of available storage
- A web browser such as Chrome, Edge, or Firefox
Step 1: Download XAMPP
Open your web browser and visit the official Apache Friends website. XAMPP is available for Windows, Linux, and macOS.
For this tutorial, we are installing XAMPP on Windows 11.
On the download page:
- Find XAMPP for Windows.
- Choose the latest stable version available.
- Click Download.
- Wait for the installer to finish downloading.
Tip: Always download XAMPP from the official Apache Friends website to avoid modified or unsafe installers.
Official download: Apache Friends – XAMPP Download
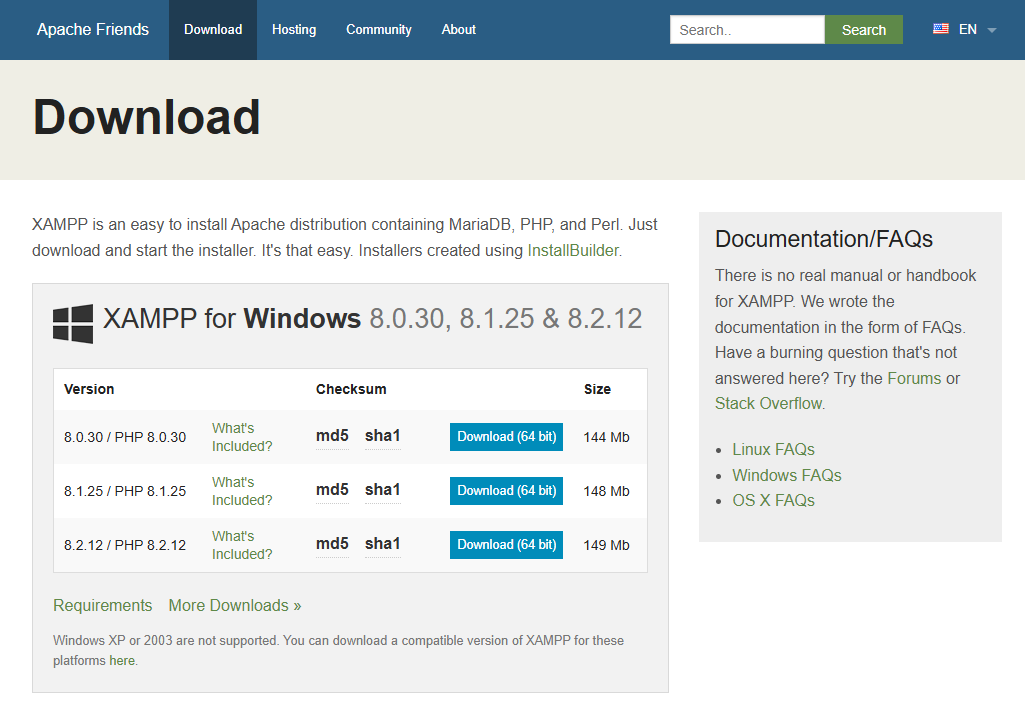
Before you install XAMPP on Windows 11, make sure your computer meets the basic requirements.
Step 2: Run the XAMPP Installer
Once the XAMPP installer has finished downloading, open your Downloads folder and double-click the installer file to start the installation.
Depending on your antivirus software, XAMPP may display a warning explaining that antivirus protection can slow down or interfere with the installation process.
If you downloaded XAMPP from the official Apache Friends website, click Yes to continue with the installation.
Tip: You normally do not need to completely disable your antivirus. If XAMPP components are blocked later, you can add the required Apache or MySQL exceptions to your firewall or antivirus settings.
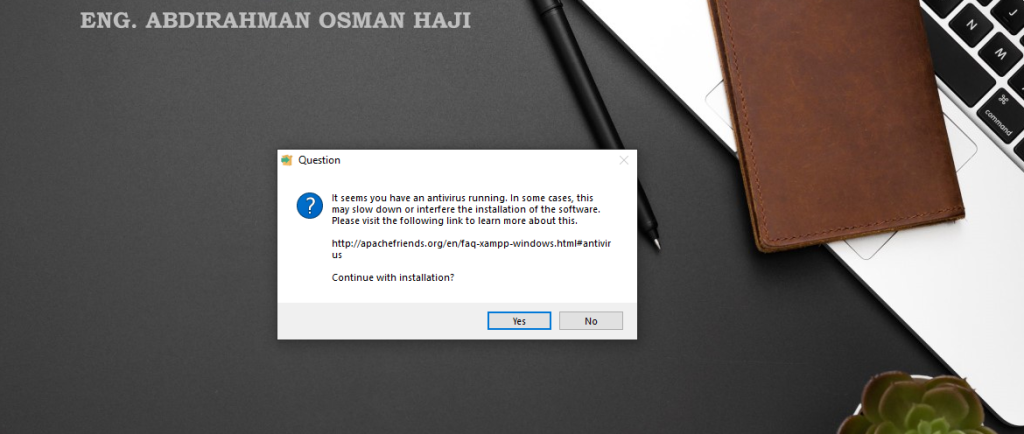
XAMPP antivirus warning displayed before starting the installation.
Step 3: Handle the User Account Control (UAC) Warning
After continuing with the installation, XAMPP may display a warning related to User Account Control (UAC) in Windows.
This warning explains that some XAMPP functions may be restricted if the software is installed inside protected folders such as C:\Program Files.
For this tutorial, we will install XAMPP in the recommended C:\xampp directory.
Click OK to continue.
Tip: You do not need to disable UAC completely. Installing XAMPP in
C:\xampphelps avoid many permission-related problems.
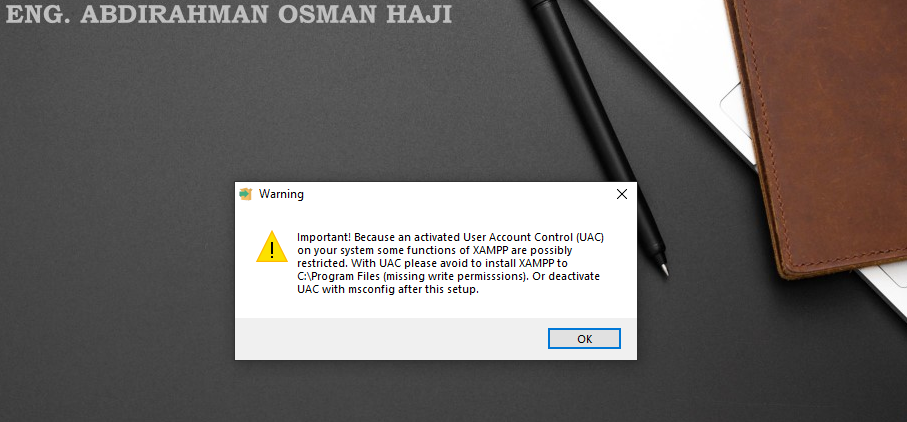
XAMPP User Account Control (UAC) warning during installation.
Step 4: Start the XAMPP Setup Wizard
The XAMPP Setup Wizard will now open. This wizard will guide you through the remaining installation steps.
Click Next to continue.
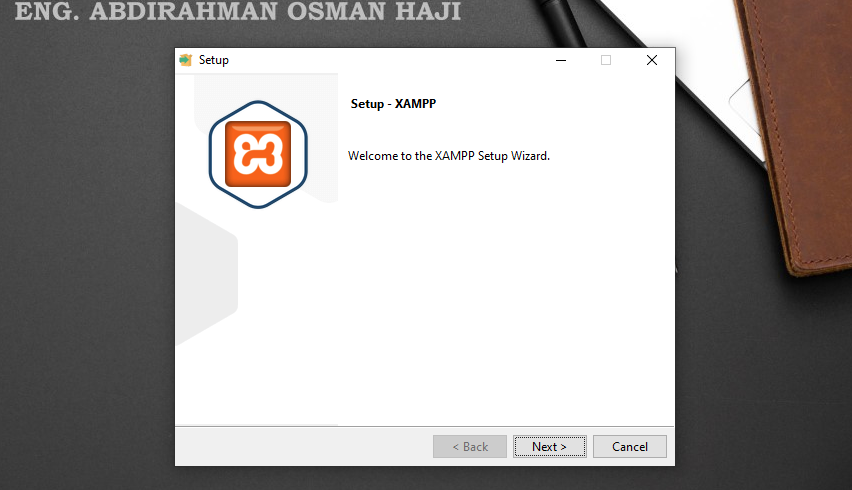
XAMPP Setup Wizard welcome screen.
Step 5: Select XAMPP Components
The next screen allows you to choose which XAMPP components you want to install.
For a beginner PHP and MySQL development environment, the most important components are Apache, MySQL, PHP, and phpMyAdmin.
You can keep the default selections and click Next to continue.
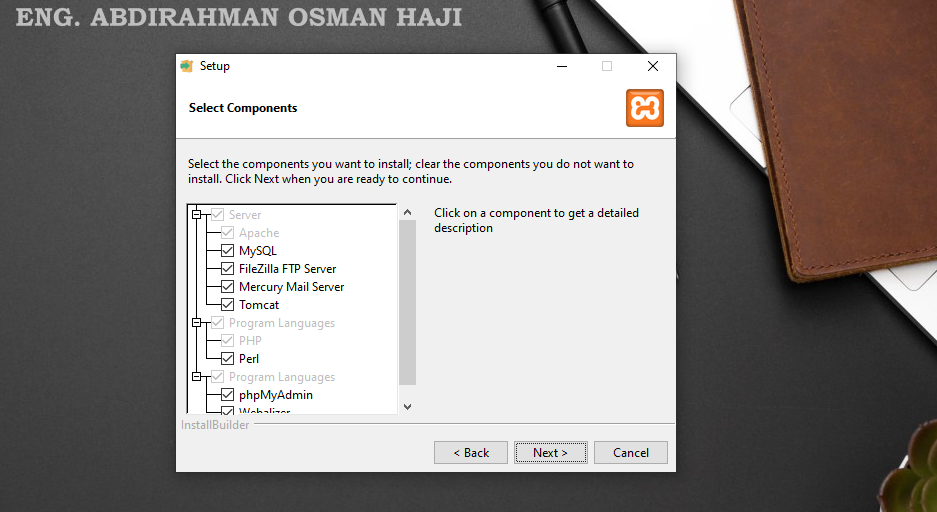
Selecting components during the XAMPP installation.
Step 6: Choose the XAMPP Installation Folder
When you install XAMPP on Windows 11, choose the installation folder carefully. The recommended location is C:\xampp because it helps avoid permission and configuration issues.
The default and recommended location is:
C:\xampp
Keeping XAMPP in this directory can help avoid Windows permission issues that may occur when installing applications inside protected folders.
Leave the default folder as C:\xampp and click Next.
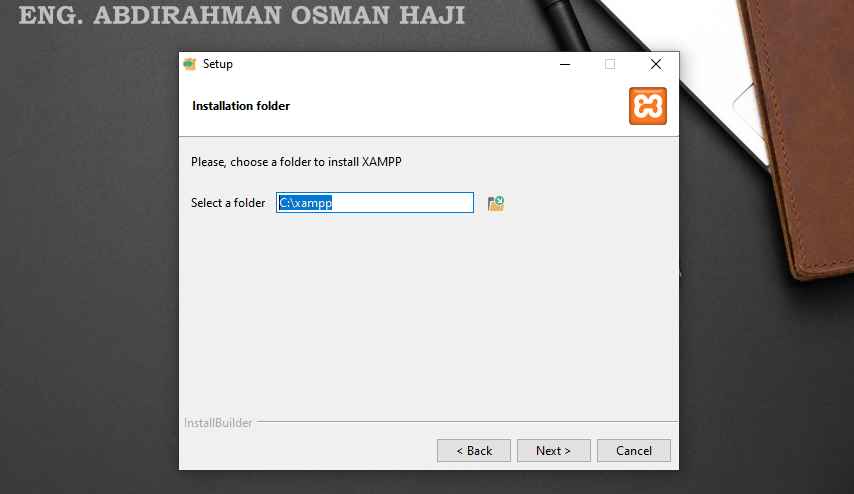
Choosing the default C:\xampp installation directory.
Step 7: Select the Language
XAMPP will ask you to select the language for the Control Panel.
Choose English from the drop-down menu and click Next.
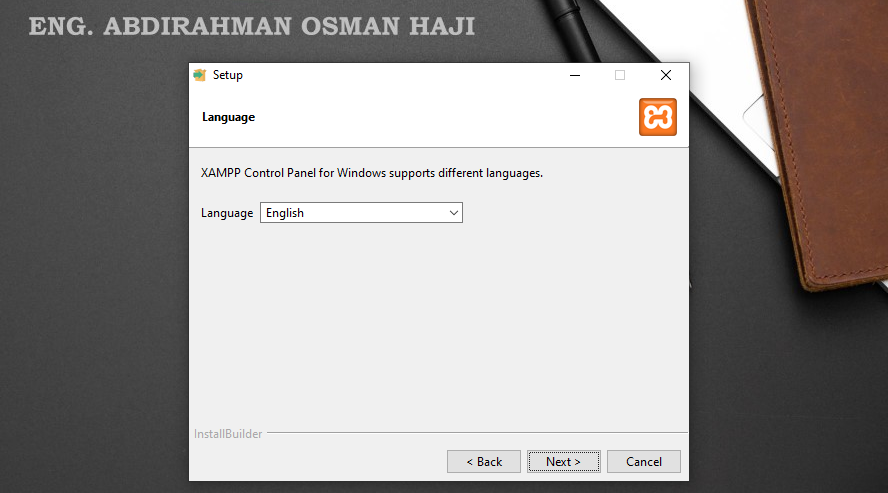
Selecting English as the XAMPP Control Panel language.
Step 8: Start the XAMPP Installation
The setup wizard is now ready to install XAMPP on your Windows 11 computer.
Review your settings and click Next to begin the installation.
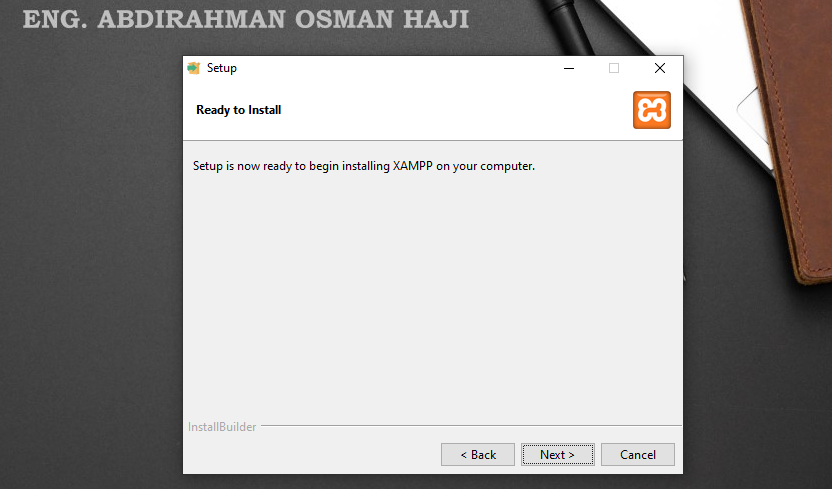
XAMPP Setup Wizard ready to begin the installation.
Step 9: Wait for XAMPP to Install
XAMPP will now copy and unpack the required files onto your computer.
The installation may take a few minutes depending on your computer’s performance. Do not close the installer while the process is running.
Wait until the installation is complete.
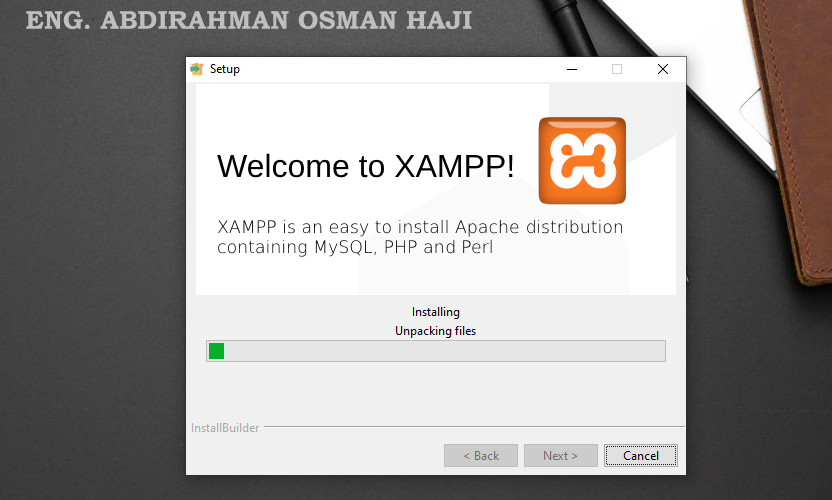
XAMPP installation in progress on Windows 11.
Step 10: Finish the XAMPP Installation
Once the installation is complete, the setup wizard will display the final screen.
You may see an option to launch the XAMPP Control Panel immediately after completing the installation.
Keep this option selected and click Finish.
The XAMPP Control Panel should open automatically.
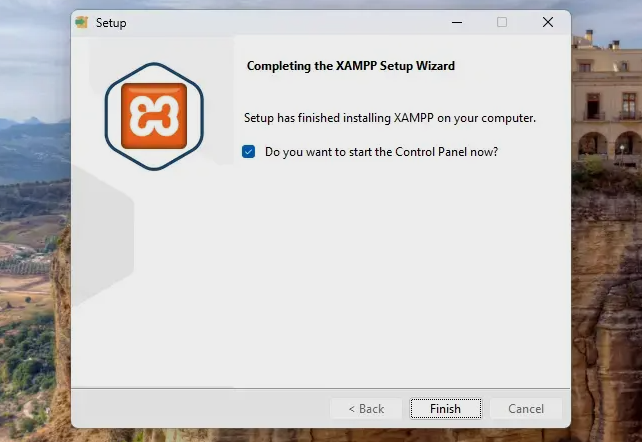
Completing the XAMPP installation on Windows 11.
How to Start Apache and MySQL in XAMPP
After you install XAMPP on Windows 11, open the XAMPP Control Panel and start Apache and MySQL.
Open the XAMPP Control Panel.
You will see several modules, including:
- Apache
- MySQL
- FileZilla
- Mercury
- Tomcat
For basic PHP and MySQL development, you mainly need Apache and MySQL.
Click Start next to Apache.
Then click Start next to MySQL.
When both services start successfully, their status should indicate that they are running.
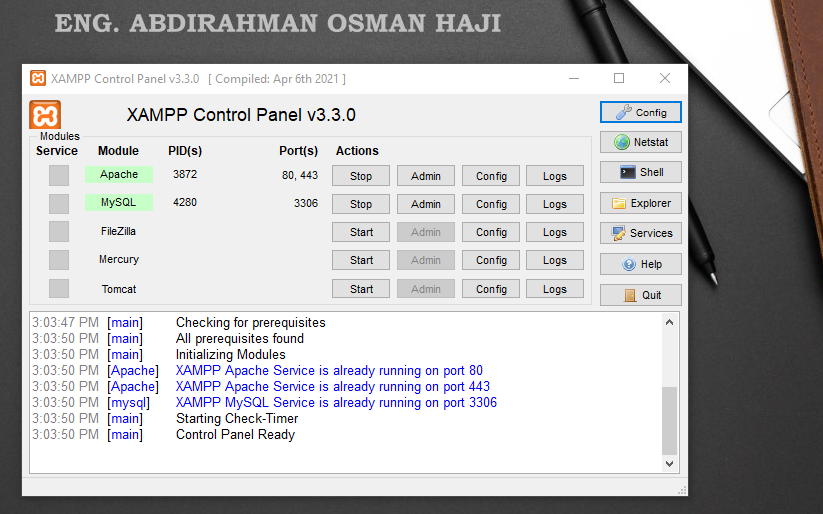
Apache and MySQL running in the XAMPP Control Panel.
If you install XAMPP on Windows 11 correctly, you can run PHP and MySQL projects directly on your computer.
Test XAMPP on Windows 11
Now you should verify that your local web server is working correctly.
Open your web browser and enter:
Press Enter.
If XAMPP is installed and Apache is running correctly, you should see the XAMPP dashboard or welcome page.
This confirms that your local Apache web server is working.
Next, learn how to create your first PHP project and run it using XAMPP.
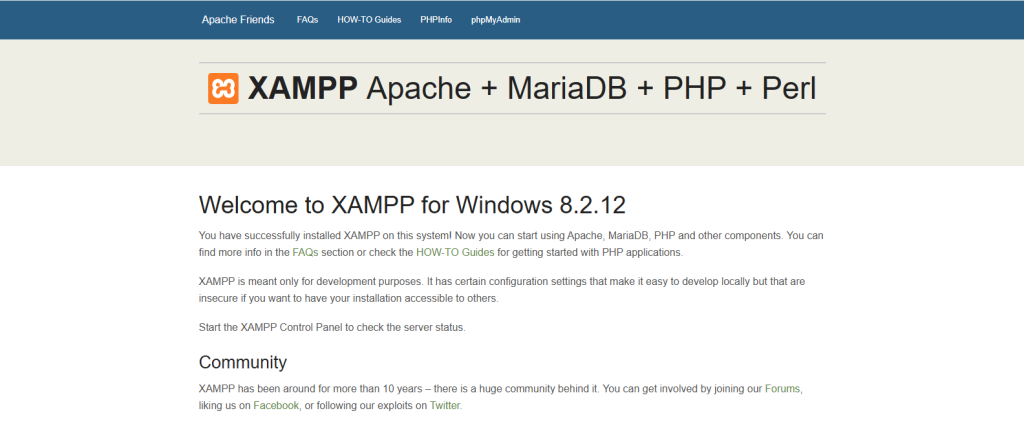
Testing the XAMPP local server using localhost.
Open phpMyAdmin
XAMPP also includes phpMyAdmin, which allows you to create and manage MySQL databases through your web browser.
Make sure Apache and MySQL are running in the XAMPP Control Panel.
Then open your browser and enter:
The phpMyAdmin dashboard should appear.
From here, you can create databases, tables, users, and manage data for your PHP applications.
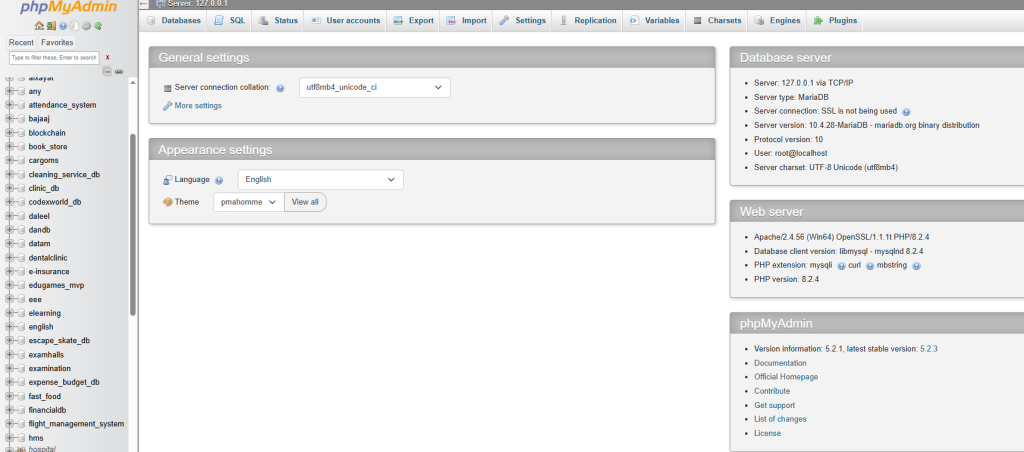
phpMyAdmin running successfully on XAMPP.
Where to Save Your PHP Projects
When using XAMPP, your website and PHP project files should normally be stored inside the htdocs folder.
The default location is:
C:\xampp\htdocs
For example, create a folder named:
myproject
inside htdocs.
Your project location would then be:
C:\xampp\htdocs\myproject
Create a simple index.php file inside the folder.
<?php
echo "Hello from XAMPP!";
?>
Then open your browser and visit:
If you see:
Hello from XAMPP!
your PHP environment is working correctly.
Common XAMPP Problems on Windows 11
Sometimes Apache or MySQL may fail to start. This does not necessarily mean XAMPP was installed incorrectly.
One common reason is that another application is already using a port required by Apache or MySQL.
If Apache does not start, check whether another web server or application is using its required ports.
If MySQL does not start, check the error messages displayed in the XAMPP Control Panel before changing any configuration.
Also make sure XAMPP has the necessary permissions to run on Windows.
Tip: Always read the XAMPP Control Panel error log before changing ports or configuration files. The error message can help identify the actual cause of the problem.
Conclusion
You have successfully learned how to install XAMPP on Windows 11 and configure a local PHP and MySQL development environment.
You should now be able to:
- Install XAMPP on Windows 11.
- Start Apache and MySQL.
- Access your local server using localhost.
- Open and use phpMyAdmin.
- Store PHP projects inside the htdocs folder.
- Run PHP applications directly from your computer.
XAMPP is an excellent environment for beginners who want to learn PHP, MySQL, phpMyAdmin, WordPress, and web development without needing to upload every project to a live hosting server.
Once your XAMPP installation is working, the next step is to learn how to create a MySQL database in phpMyAdmin and connect it to PHP.